
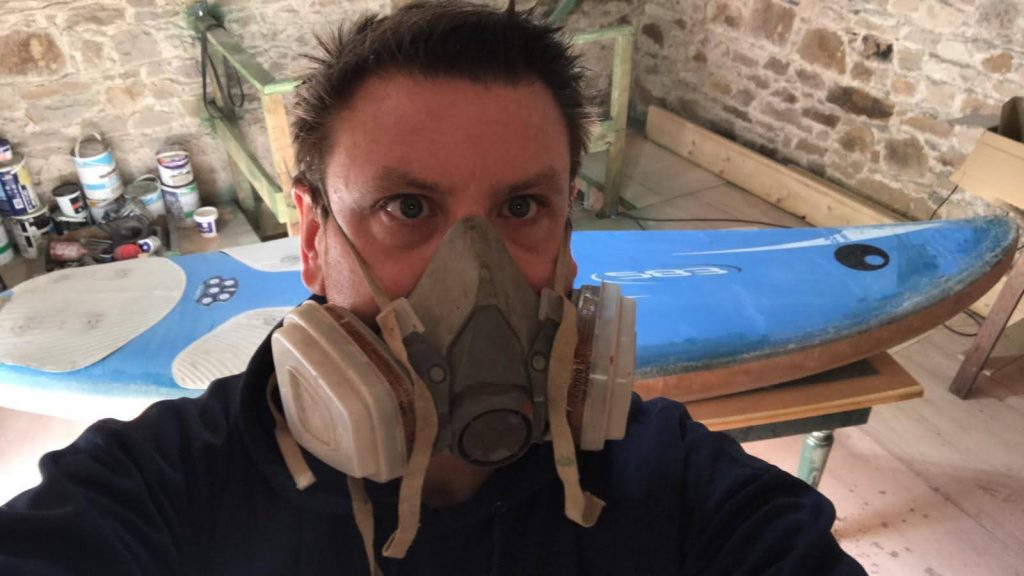
Words & pics: Darach Powell
Ever fancied sorting out that old battered stick you have lying around in the back garden? what about just being able to repair your windsurf board should it get dinged? Or possibly, like Darach, you have the idea of converting an old windsurf board into something completely new. Read on for one of the most amusing tales of cottage industry windsurf shaping you’ll read.
I stopped windsurfing in a snot at age 15 because I couldn’t sail my newly acquired teardrop Tiga 284 SLR. 25 years and a spinal fusion later, with ideas of reliving my youth, I decided to give it another go. To ease myself back in, I bought a 2000 JP 205 from a very nice fellow in London and had it shipped to Ireland.
Sooner than I thought, the need for windsurfing speed gripped me and I was on the hunt for something faster. Problem: I am 6’4”, 120kg and I can barely water start (usually a fluke), so speed and safety are elusive for me in the sport. I needed something buoyant but fast, plus I was damned if I was going to pay thousands for that luxury, as I only get out maybe a dozen times in a year.
Having too much time on my hands during recovery and watching far too much YouTube, I stumbled across a very skilled YouTuber called Rob Rock. This man does magical things with windsurf boards! He has a brilliant video, see: ((14) Add some volume to an old windsurf board. (20 liters) Whole lotta Rosie!!! – YouTube) which was my inspiration.
Disclaimer! I have absolutely no experience, qualifications or any other skills in board making, besides a naïve give it a go attitude, and a shed. I probably should not be left unsupervised with power tools either.
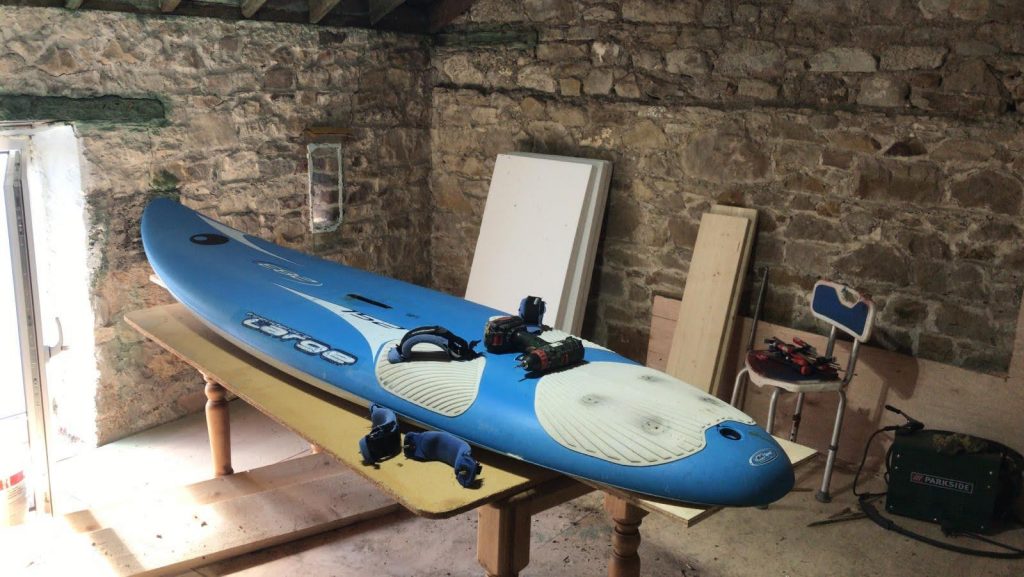
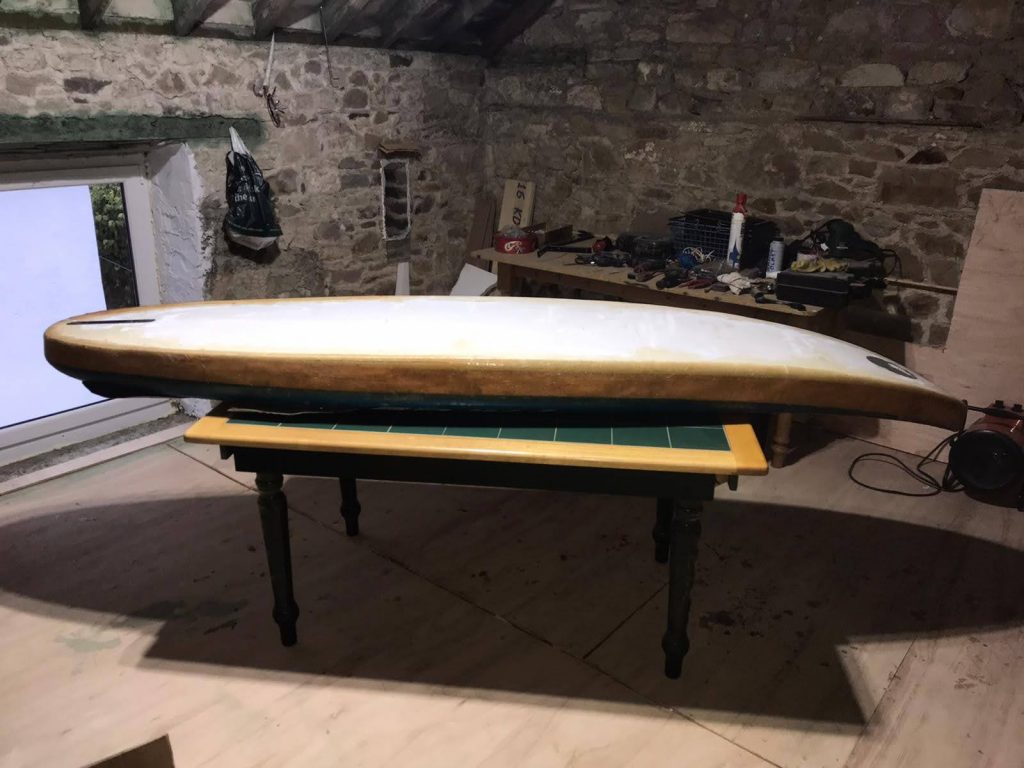
I acquired an old BIC Techno which was heavily damaged and hatched the (probably stupid) idea that I could copy Rob’s skill. The idea was to follow his video above, and build my own windsurf (SUP) board.
Begin the goofs!
I managed to separate the board with little trouble, using an angle grinder and a hot wire I jury rigged using my car battery. I successfully shocked the bejesus out of myself once or twice as well!
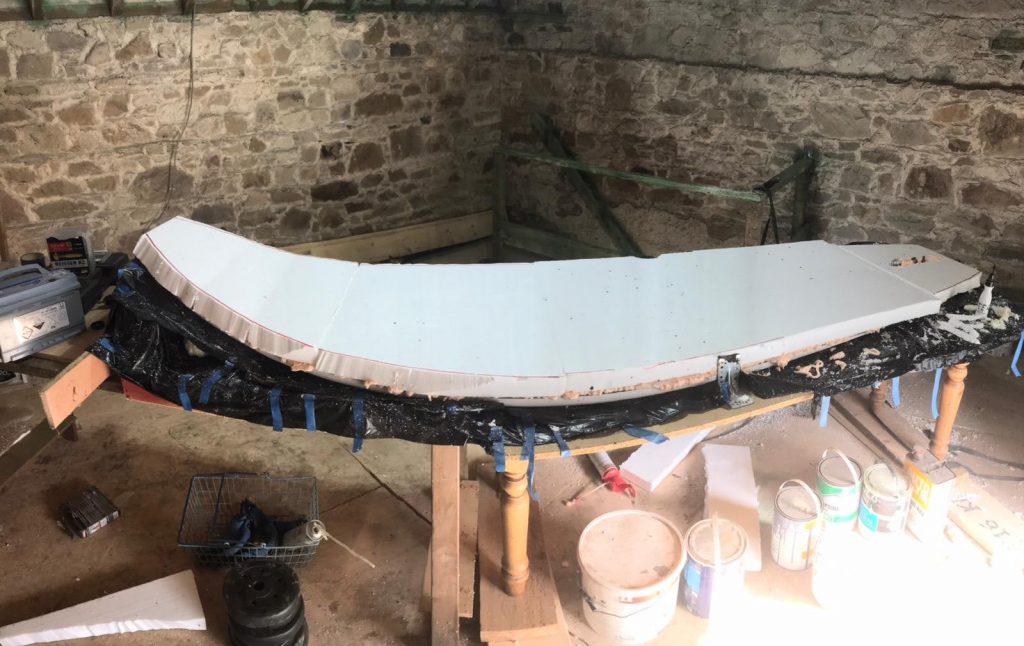
Once I had it apart, I was off to the local building supplier for materials. I bought polystyrene foam (first mistake), then I bought polyester resin (second mistake). I happily cut and shaped the foam and placed it on the board using an expanding foam glue called Soudabond (little did I know this stuff would actually be the saviour of the whole project). Luckily the fin box came out very easily and the Soudabond reglued and filled any voids here.
Queue sanding, shaping, etc. with ideas of moving to Maui to begin my glorious surfboard company!
Glassing.
The resin ate the foam! Leaving large voids behind the hardened glass. S**t!
Brainwave! Drill through the foam from the other side and fill with Soudabond! This worked bloody brilliant, until the pressure blew the whole lamination off the side of the board! FFS!
Start again, but budget didn’t allow for epoxy so I had to come up with a solution to use the materials I had.
This came in two forms. The Soudabond didn’t react with the polyester but still bonded to the polystyrene and that worked fine for the side which had already been eaten by the resin. So I simply trimmed this and added where necessary. The other side needed something else.
Back to YouTube.
Solution: five coats of any household water based (Latex) paint on the polystyrene. This provided both a protectant and a bonding surface for the polyester resin. Voila! The board was now whole again.
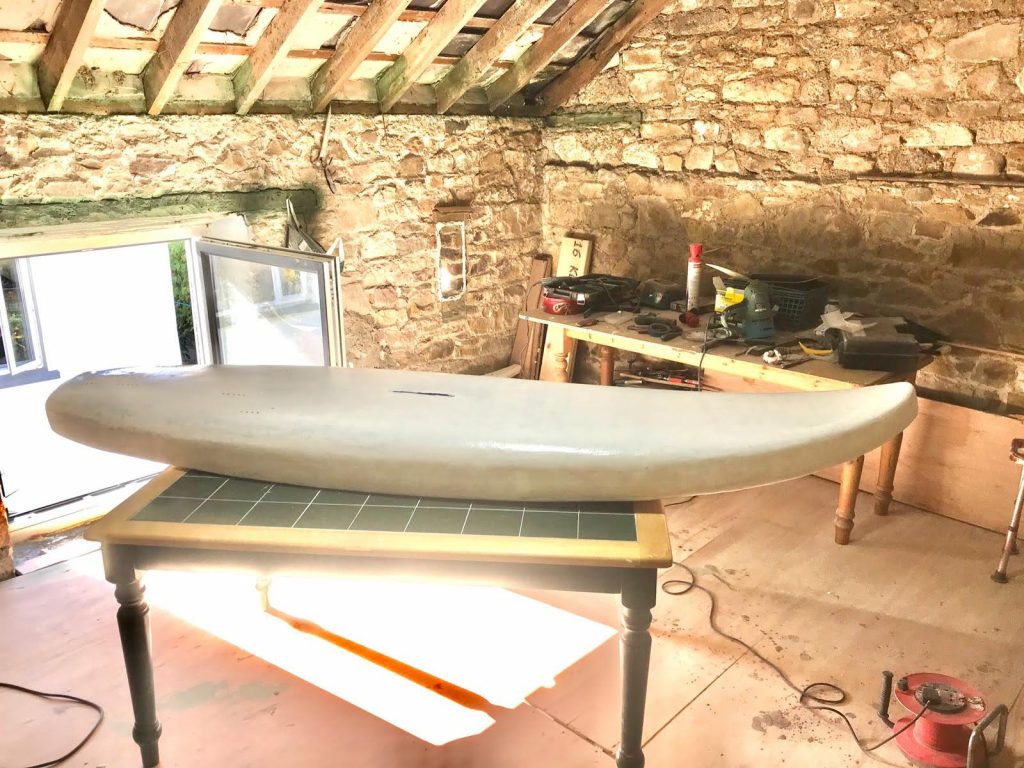
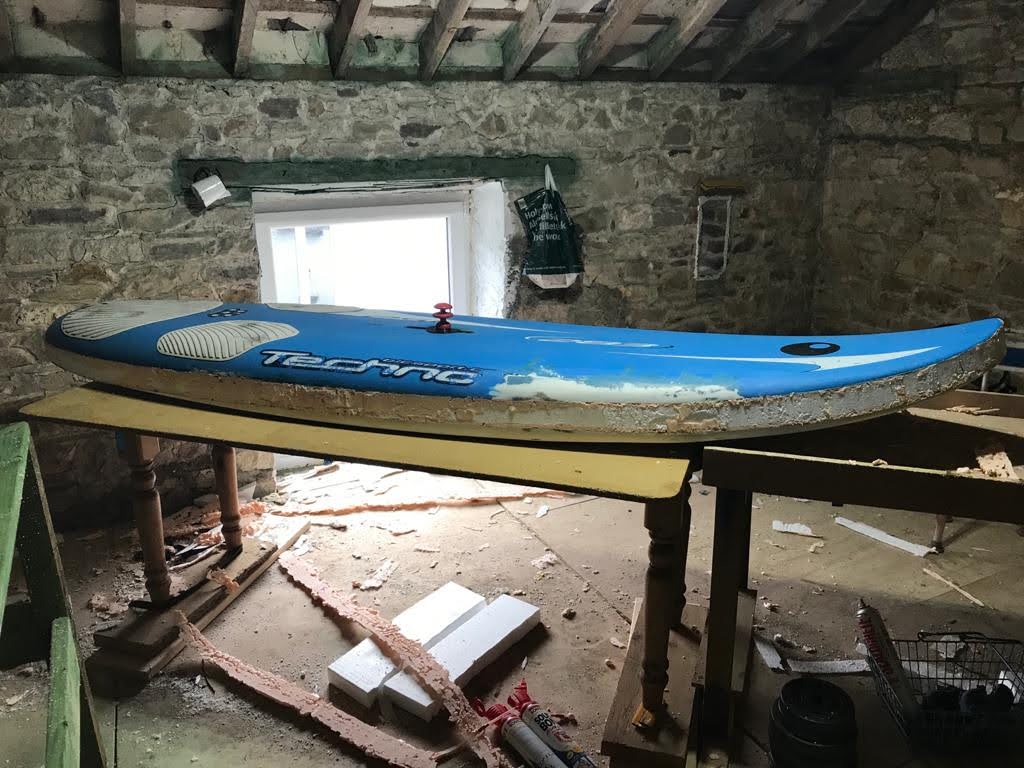
I needed to address the fin bolt hole on the deck, because it was now twice the depth. The solution to this was a combination of a piece of stainless-steel motocross bike tailpipe for strength, with a Rubex vitamin “C” tube with the end cut off, lol! I glassed all of this in and it actually looked respectable.
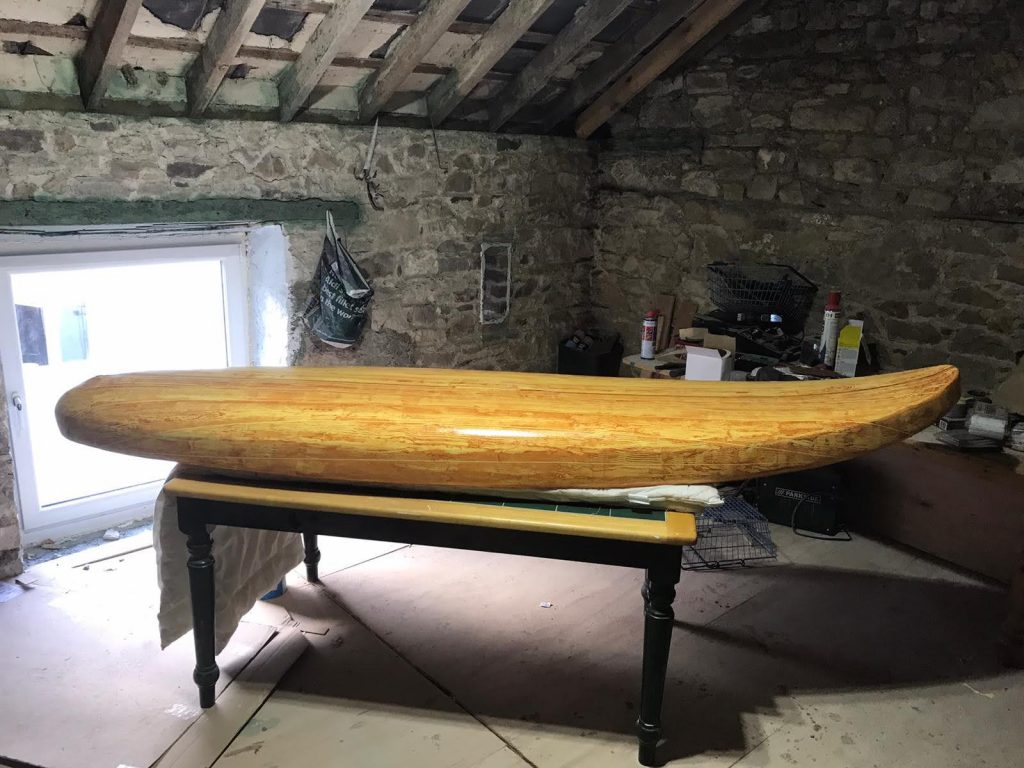
Half a ton of Gelcoat filler and hours of sanding later, it actually looked like some sort of surfboard (if you ignored that giant ugly shnozz).
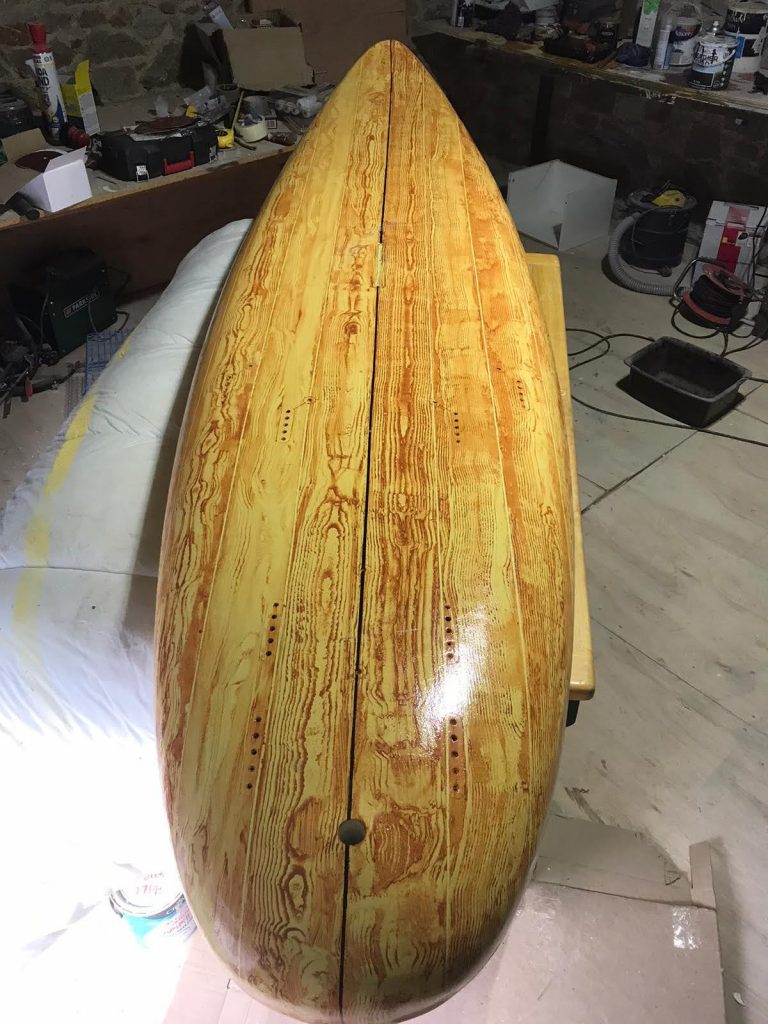
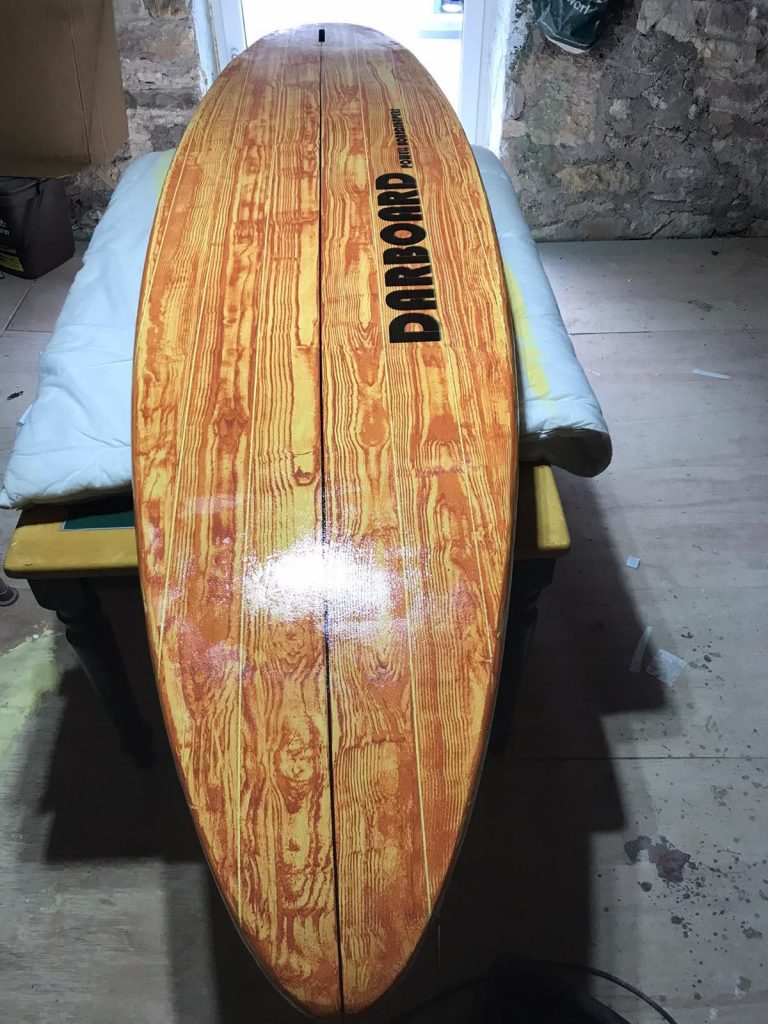
So here I was left with an intact board but no idea what to do with it paint-wise, so back to good ol’ Rob Rock for a little more inspiration! It was going to have to be wood effect for me! see ((14) Turn a surfboard into wood. Custom painted faux wood grain. DIY – YouTube)
This was extraordinarily easy to do, and having sealed the board with an oil-based sealant and a magnolia basecoat (makes the wood effect really look well) I used automotive pinstriping tape to mark out the board lines, and using the wood effect tool I bought on Amazon, it became a wooden board. Again, Mr Rock’s videos showed me how to put graphics onto boards and this was really simple.
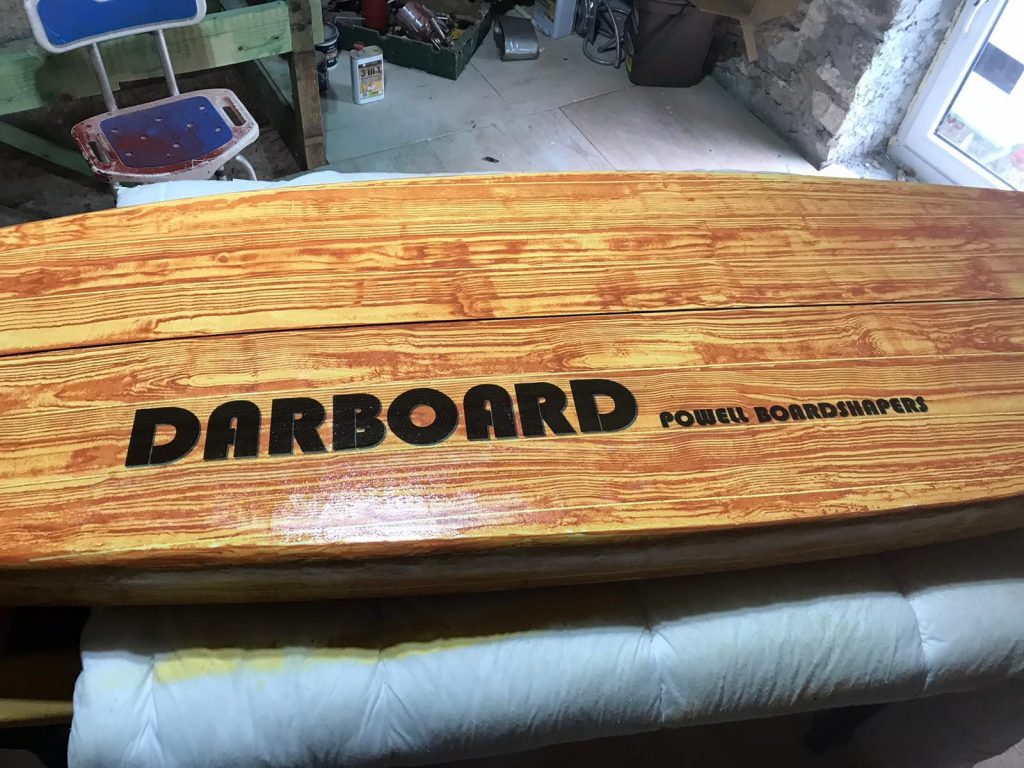
Rice paper and polyester resin.
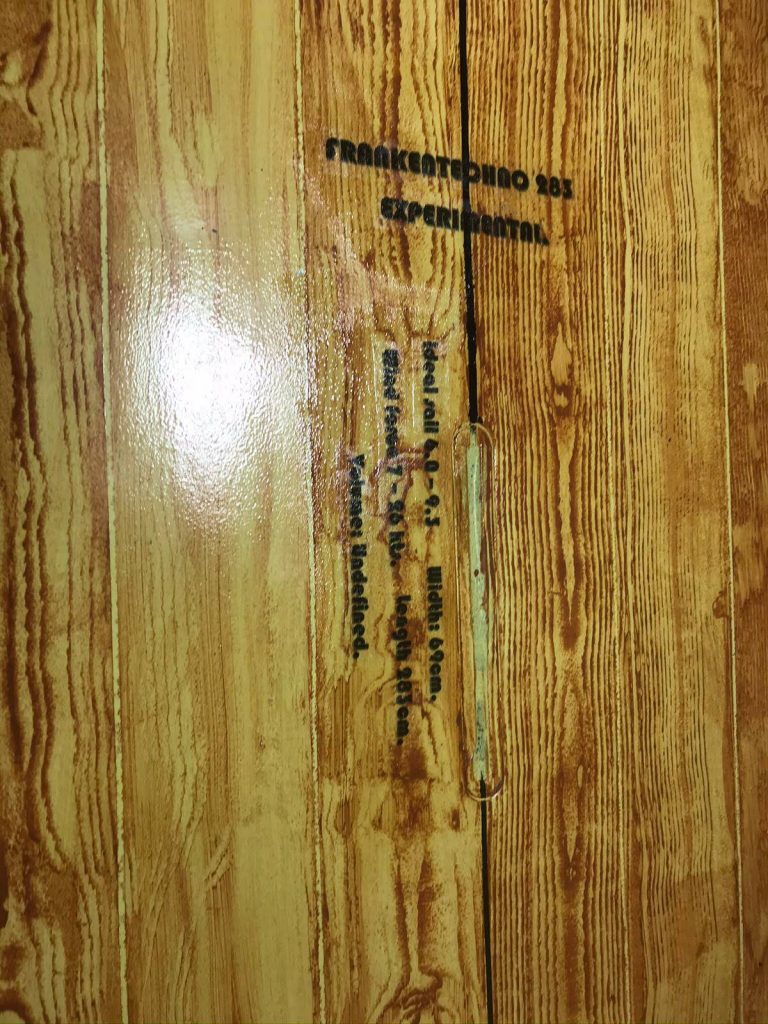
Simply use rice paper in your printer to print letters / logos and once this is placed on your board and rolled with resin the rice paper goes translucent leaving only the graphic behind which is encased in resin. Another bloody brilliant board shaping g/making hack. The name and graphics were really only done to get under the skin of my buddy and fellow windsurfer Dave (Ludgate – aka Subowti), who is an environmental activist, avid paddle boarder / windsurfer and secretly covets his own line of boards lol! See @subowti • Instagram photos and videos
The Clog, as Dave named it, was born!
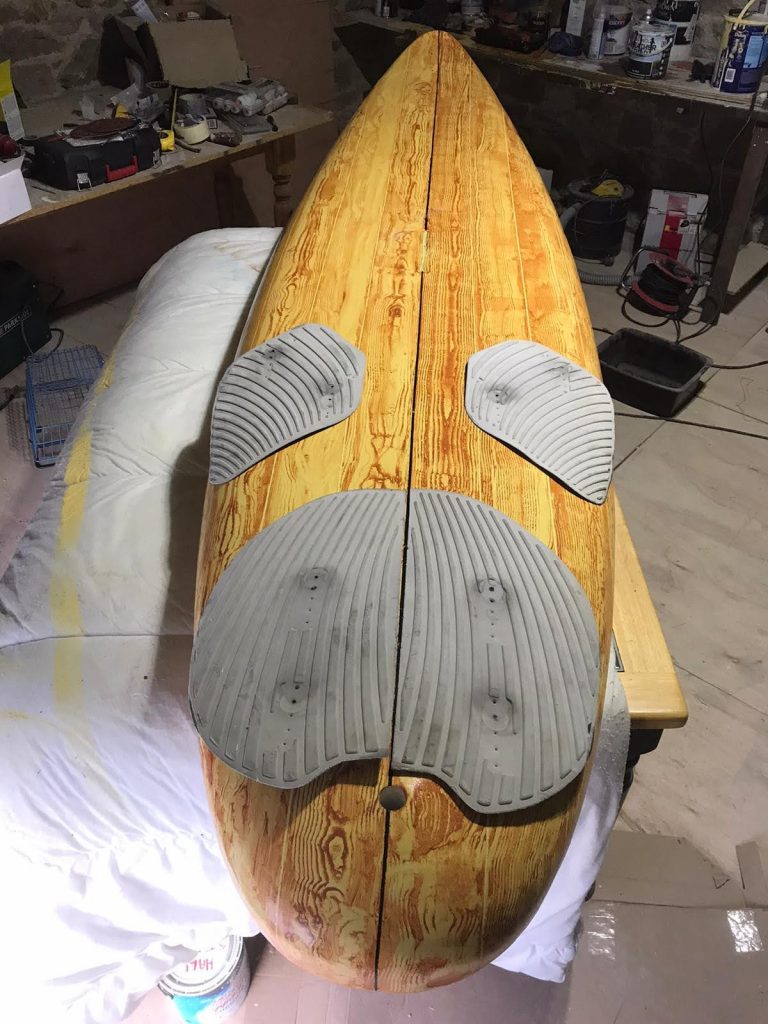
AliExpress provided deck padding as cheap as I could find it. Next were sea trials!
Did it sail?
Yes, it sails fine. Amazingly in fact, despite its probable 15kg + weight. However, the volume added has made the board so thick (8” +) that it has become a “little” top heavy and as such is quite wobbly in a lateral way. Also, the weight is a killer especially if you’re tired and have to carry your gear a long way.
Can you paddle it?
Nope. (Lols – ed).
The buoyancy is obviously great, but this as explained above has made it almost impossible to paddle (it needs to be wider), absolute fail on that front.
Lessons learned…
Polystyrene and polyester resin = bad JuJu. I put way too much volume in (extra 3” of foam), when 1” would have been fine. Do not try to do fibreglassing at the end of October, the cold screws everything up unless you have a heated shed, and I don’t.
Would I do it again?
Yes, but what this project has taught me is nearly every board is fixable. I would not be deterred in taking a heavily damaged board and repairing it. The whole drive to do this project was the outrageous cost of equipment nowadays. I have discovered you can have as much fun, if not more, on old gear at a fraction of the cost of modern stuff.
What did it cost?
Goofs included, it cost about €250 (£215) in materials and many hours of labour. But I really enjoyed it and learned an absolute ton here. Now I just have to find an out of the way wall to hang this ugly big lump of plastic on!
Thanks for reading!
PS: currently sailing an AHD 299 and a 2003 Starboard Go 150L.
If you enjoyed this article why not check out the following –


Leave a Reply